


Price: ₹90,000 - ₹40,000.00
(as of May 03, 2025 06:27:36 UTC – Details)
Installation The 1Home Bridge should be DIN rail mounted into your electrical cabinet and connected to a KNX bus cable via KNX module on the device, to an external 12-30 V DC power supply, and to the network via ethernet cable. ETS Programming (optional) You can assign the physical KNX address, set up BAOS username/password, and enable/disable various services using ETS. This step is optional and the device also functions using the default settings on the default Individual address 15.15.255. Plug & Play extension In a retrofit installation, the device doesn’t need to be connected directly to the KNX bus. This allows for a seamless retrofit to existing smart home infrastructure. You can simply install the device via the PoE adapter and keep it in the cabinet next to your router. Pairing 1Home Bridge with the 1Home dashboard Please visit bridge.1home.io and if you have already completed the installation process – simply skip the tutorial to Step 3 in the 1Home dashboard. In the instructions that came with the device, there is a 10-digit code. Please enter the code in the 1Home dashboard. Your device should now be paired with the 1Home dashboard.
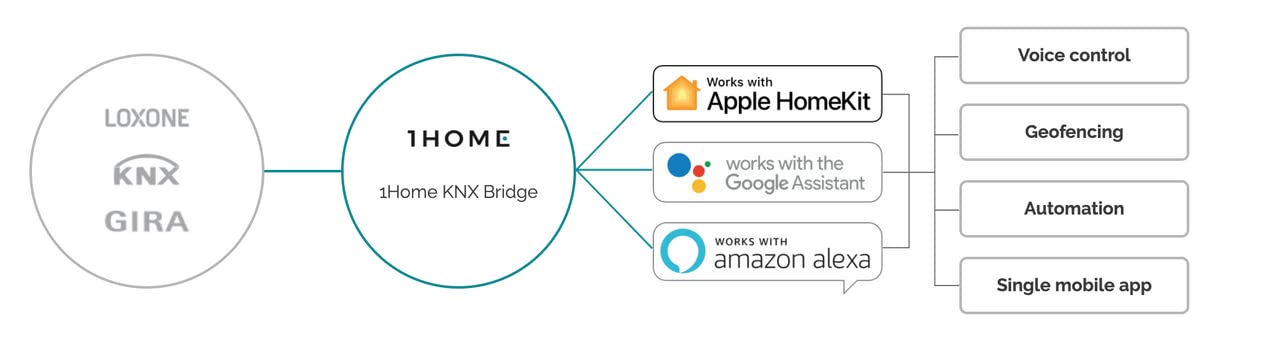
Control KNX, Loxone or Gira smart home with smart assistants Apple HomeKit, Google Home and Amazon Alexa
Voice control with Siri, Alexa and Google Assistant
Control your home with smart assistant mobile apps
Simple way to create your custom automations
Connect your wired home with thousands of IoT integrations. IP Interface and remote access unit (for KNX users)
